Monday, December 31, 2018

Projects Completed in 2018

In order of completion. Click on the text for related blog posts unless noted otherwise.

Wool-Aid Socks 14 (Ravelry page)

My Sister's Shawl (MKAL)

Wool-Aid Socks 15 (Ravelry page)

Wool-Aid Hat 3 (Ravelry page)

Wool-Aid Hat 4 (Ravelry page)

Star Light, Diamond Bright Quilt

Mug Rug for Ravelry Swap


Stamped Rings (Instagram post)

Watercolour Roses Quilt

Vogue Brioche Cowl/Skirt

Celestarium Shawl

Wool-Aid Vest 1

Wool-Aid Socks 16 (Ravelry page)

Wool-Aid Socks 17 (Ravelry page)

Hasukai Cowl

True Hope Cowl

Telja on the Hudson Bay

Insulate Gloves (Ravelry page)

Thread the Needle cowl (Ravelry page)

Blooming Brioche Shawl KAL

Scott Pilgrim Hat

Dobby Sock Bookmarks

Monday, November 26, 2018

All the Way Around Robin's Barn

That's another way of saying "the long way around" in case you're unfamiliar. (Listen to A Way with Words and you'll learn about lots of interesting phrases!)


This project started with a collection of yarn I thought might suit each other in a project. Rummaging around in my stash brought out the pale yellow angora mix from Fleece Artist and I got an urge to use it up.
I knew I had some mohair remnants that I thought might work well with it.

I first tried a stitch from a free pattern I got from a yarn store that was written for a light mohair yarn.
I held the angora with one strand of the mohair, switching colours every two rows.
With the two strands of yarn, the fabric was not airy enough. I soon took it out.

I tried again alternating one strand of angora for two rows with one strand of mohair for two rows, while changing which colour of mohair I used from stripe to stripe.
I didn't mind the effect, but quickly realized that I would not have enough of the mohair to get very far. My Ravelry listing for the light purple has a lot more yardage listed than I have. I wish I could solve the mystery of where that yarn went, (I'm one of those who likes to keep their Ravelry listings up to date) but in any case, there wasn't enough for this idea. I considered making a narrower rectangle, but that didn't really appeal to me.

These are the bits I was left with after the second try since I had cut the yarn between stripes:
Then I bagged up the mohair and put it away for another day and started again with just the angora.

I had just seen a pattern from Churchmouse Yarns on Kristy Glass's video of her visit there which looked like just the thing. It was an airy triangle "kerchief" designed with a mohair/silk blend.
It's a repetitive pattern done on large needles and it didn't take long to make some serious progress:
A good stretch during blocking really opened up the pattern and the large eyelet borders:
It's not a very large piece,
but is just right for wearing around your neck
and adding some fluffy warmth on chilly days.
Even though the kerchief is more holes than yarn, it is seriously warm. I had it on the other day and I felt like I could feel heat radiating from it!

It does shed. Little hairs drift off and tickle my nose while I'm wearing it and my clothes look like I have a pet after I take it off. Some days worth it; some days not.

Project Stats
Started
: 17 Oct '18
Finished: 22 Oct '18
Pattern: Blackberry Kerchief by Churchmouse Yarns and Teas
Materials: Fleece Artist Peter Rabbit (colour Cornflower), 45 grams

Saturday, November 24, 2018

Thread the Needle Cowl

The week the Blooming Brioche KAL was supposed to start, the designer's computer broke down and she was unable to release the pattern. To help us cope, she gave us a coupon code that could be used for a free pattern for one of her other designs.

As I was giving a little look through 
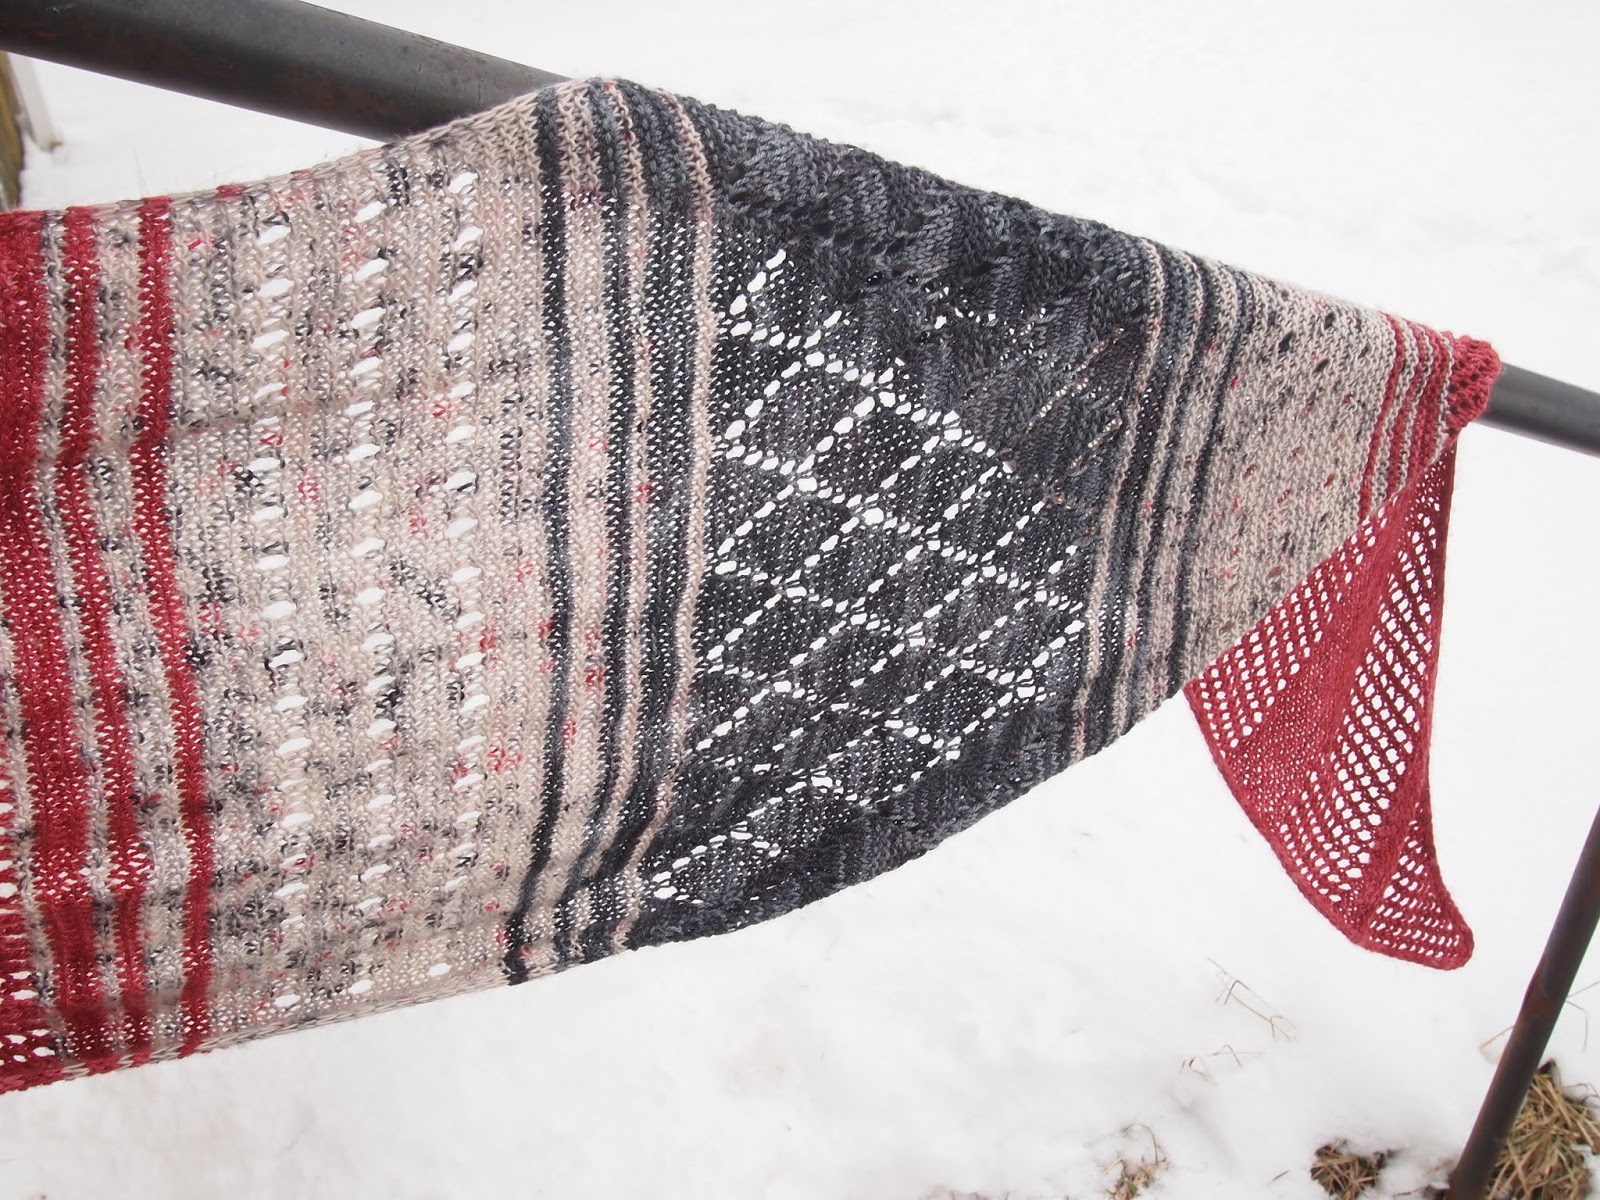
her patterns, one really caught my eye and I went for it. It was another cowl (I have been knitting a lot of them lately!) but I loved the design and it would be perfect to use up this ball of blue yarn I bought on our trip to Banff, Alberta (in 2013). I had only recently raveled the first project I knit with it because the yarn wasn't good for that pattern. I was itching to knit it up again.

I paired it with some Malabrigo lace I had in my stash, doubling the Malabrigo to make it a similar thickness.

The hardest part was the cast on. Oh my word, 369 stitches.
But I got it done, putting a marker every 20 stitches so I never had to count higher than that!

The cowl was shaped with short rows so at least every row I did was a little shorter than the last.
Because my left hand/wrist/arm was getting sore, I knit this cowl with many different methods to minimize repetitive movements. (Or at least too long with one movement.) The garter border was done with both continental (picking) and English (throwing). My tension isn't exactly the same, but close enough. (And I think getting closer the more I use them both.)

On the stockingnette part, I did the knit rows either continental or English, but the purl rows, I did either by purling (English) or by knitting from the front side, working left to right. (That I do "continental" by holding the yarn in my right hand.) Some people call this left-handed knitting but but I don't think that's right. Since you use both hands to knit either from left to right or right to left, there's no real "right-handed" or "left-handed" knitting. Using all these different methods also kept it interesting.

When the body of the cowl was done, you finish the neck hole and then "sew" the seam with knitting.
It was very clever and gives a very nice result.

I wasn't sure how to block the cowl since it wasn't flat, but ended up folding it in half:
I folded it wrong side out since the seam (the diagonal yellow line on the top right) naturally wanted to fold the other way. Blocking it "against" the fold resulted in a flat finish.

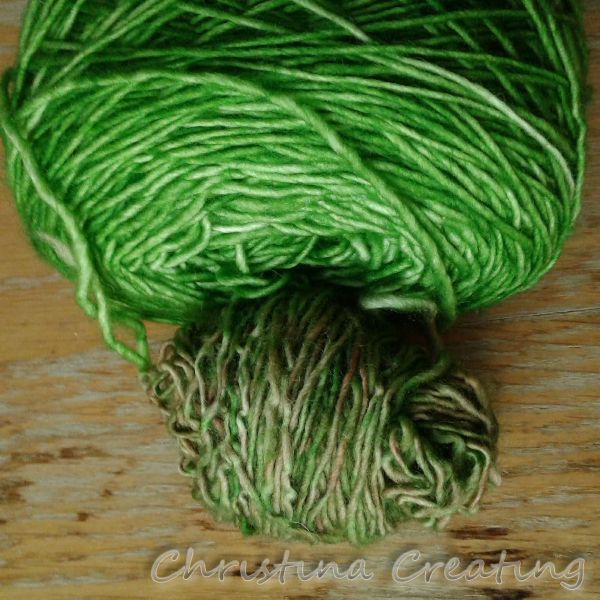
Besides the eye-catching design and the pop of lime I used, I really like that the cowl can be worn in multiple ways.

1. With the end slipped through the hole:
2. Double wrapped and the end slipped through the hole:
3. As a hood. (Pretty ridiculous here, but probably not quite as ridiculous with a long coat over it.)
And let's face it, if I'm cold enough to wear it this way, I am way past worrying about looking ridiculous.

4. Long and loose over the head (again, probably a better look under a long coat):
5. And the one that really caught my eye - as a vest:

I really like asymmetrical looks. And you may notice, I already had a belt and necklace to match!
The belt is from years and years ago (I covered an existing D-ring belt with a tie) and the necklace is from my last Squam retreat (2017). Apparently I have liked this colour combo for a while.

I really enjoyed the knit. The blue yarn is soft and fluffy and was great to work with. The pattern was always changing but in a recognizable repeating way so everything made sense as you went along. (Ok, it took me a minute to work out what she meant in the transition from the neck hole to the seam, but I got it. Figuring out something new and unexpected is also enjoyable!)

Project Stats
Started
: 27 Oct '18; Finished: 2 Nov '18
Pattern: Thread the Needle by Xandy Peters
Materials: New Juniper Yarns (aka TwoJ) Merino Pure (colour Spruce Grove), 90 grams, $25; and Malabrigo Yarn Lace (colour Frank Ochre 35), 10 grams (held double), $5.50 but leftover from another project


Small note for anyone who wants to make this cowl (and I recommend you do):
I found the ending of Clue 2 confusing as to how to be prepared for Clue 3. I think the last row would be better stated as:
Row 34: K2, PM, KTNM, RM, K1, [P1 TBL, K1] rep to M, RM, KTNM, SM, K4, Break Yarn.
(Changes are in bold type.)

Wednesday, November 21, 2018

Blooming Brioche KAL - Stages 1 and 2

Knitting has continued on the Blooming Brioche shawl. Each "stage" of the knit-along is being released on a Thursday.

It's been a lot of knitting and I am enjoying the brioche and the new-to-me techniques of decreasing and increasing stitches to create the flowing pattern on the front.

Depression has grounded me to the couch recently and sometimes I can't even knit, but a lot of the time I have been able to at least work on this project.

I decided to go with the green and red combination.
It was softer with more drape than the red and black, and my sister assured me it did not look like Christmas. BTW, I just got this comment on one of my Instagram posts: "that screams Christmas !" Hmmm....

I decided to ravel the swatch to use the yarn again. (Some people keep their swatch for reference during the project - I usually don't bother.) I'm glad I did. You can see in the picture below how much of the red bled onto the green during the soaking:
The little (lower) one is from the swatch.
I wanted a bright vibrant green in my shawl, so I set about rinsing the red yarn. It turned the water of several rinses vivid red so I tried a vinegar rinse. (Vinegar helps dyes to set.) The water came out almost clean and so did the next rinse. But the following rinse (just to be sure) was bright red again. Apparently the yarn had enough vinegar in it going into the first rinse that it still had an effect.

So I did another vinegar rinse but heated the yarn. Heat and vinegar should really do the trick. But I got the same result: rinse 1 was clear; rinse 2 had lots and lots of red in the dye. I was out of ideas but still wanted to use the yarn, so I decided I will just have to always rinse the shawl in vinegar water. How's that for cutting the Gordian knot?

The designer (Xandy Peters) has organized the pattern into different sections within each stage. The first was the "roots", i.e. the cast on:
It's a simple but brilliant cast on that gives a completely smooth beginning to the pattern -- a bunch of stitches coming from one point. The red is bordered by a green selvage all the way around. It really is great.

Next was short section of seeds:
And then the bulbs. Here I have the first repeat of the bulbs done:
The back, if you're curious:
Although the back is neat and has an interesting pattern of its own, the shawl is not reversible in the sense that the front and the back are the same.

And now all three repeats of the bulbs are finished:
I'm making the smaller version of the shawl, or I would have had more bulb repeats to do.

That was the end of Stage 1. I finished it the day that Stage 2 was released so I was not feeling very much behind the knit-along.

The first section of Stage 2 was the sprouts. You can just see the first leaf shapes in the picture below:
Here the sprouts and the next section of leaves are done:
And finally the "vines" are done as well and that is the end of Stage 2:
I've had to tink back several times as I missed some part of the pattern. Once time I took back a couple rows for something I thought was a mistake. I realized it wasn't a mistake but I had missed something on the following row so all my tinking was not a waste.

There are parts of the pattern done on the wrong side and it was a real exercise of trust to just follow the chart stitch by stitch without being able to see the pattern on the front. One of the reasons I like using charts is that you can see the pattern or design develop and can see how the row I'm doing builds on and fits with the previous rows. I couldn't do that from the wrong side in brioche and found myself often peaking over to the other side to make sure things were "ok". I did get a little better at working from the wrong side as I went.

The shawl is definitely growing in size. The stitches fill up my 40" needle cable and the shawl makes a half circle shape:
In the next pic you can see the various stages of the pattern and how they each develop from the previous:
I'd like to knit a rectangle shape from this pattern at some point because I think it shows the development of the pattern more clearly than the half circle shape. That is what I really love about the pattern.

Stage 3 is to be released tomorrow. (Yes, even though it's Thanksgiving!) I am ready. :)

May I suggest?

I Say! or at least I did once...